Maintaining a strong core is a great way to help avoid back pain and injury as we age, but it also makes everyday activities like standing up from a chair and walking easier.
When you think about it, there’s really no situation where having a stronger core wouldn’t come in handy, so it behooves all of us to spend more time focusing on this area.
This is true regardless of age, but it’s especially true for our seniors who are more prone to suffering the consequences that can come from having a weak core.
It’s true, mobility deficits and pain can make it more challenging for seniors to get the exercise they need.
But the great thing about standing core strengthening exercises is that they tend to be low impact and doable for seniors of most skill levels.
The key is knowing your limits and being willing to put the work in, but if you do, there’s no reason you can’t improve your overall core strength.
In this guide, I’ll be going over some of the most senior-friendly core moves out there, but that doesn’t mean all of these exercises will be doable for everyone.
Again, you have to listen to your body and know your limits – please avoid anything that causes pain and when in doubt, seek professional assistance from your physician or local physical therapist.
Otherwise, if you’re ready to get your core in shape, keep reading.
We’ll dive right in with the exercises, but if you’re interested, I’ll go over some additional info and strategies at the end to help you get the most out of your workouts.
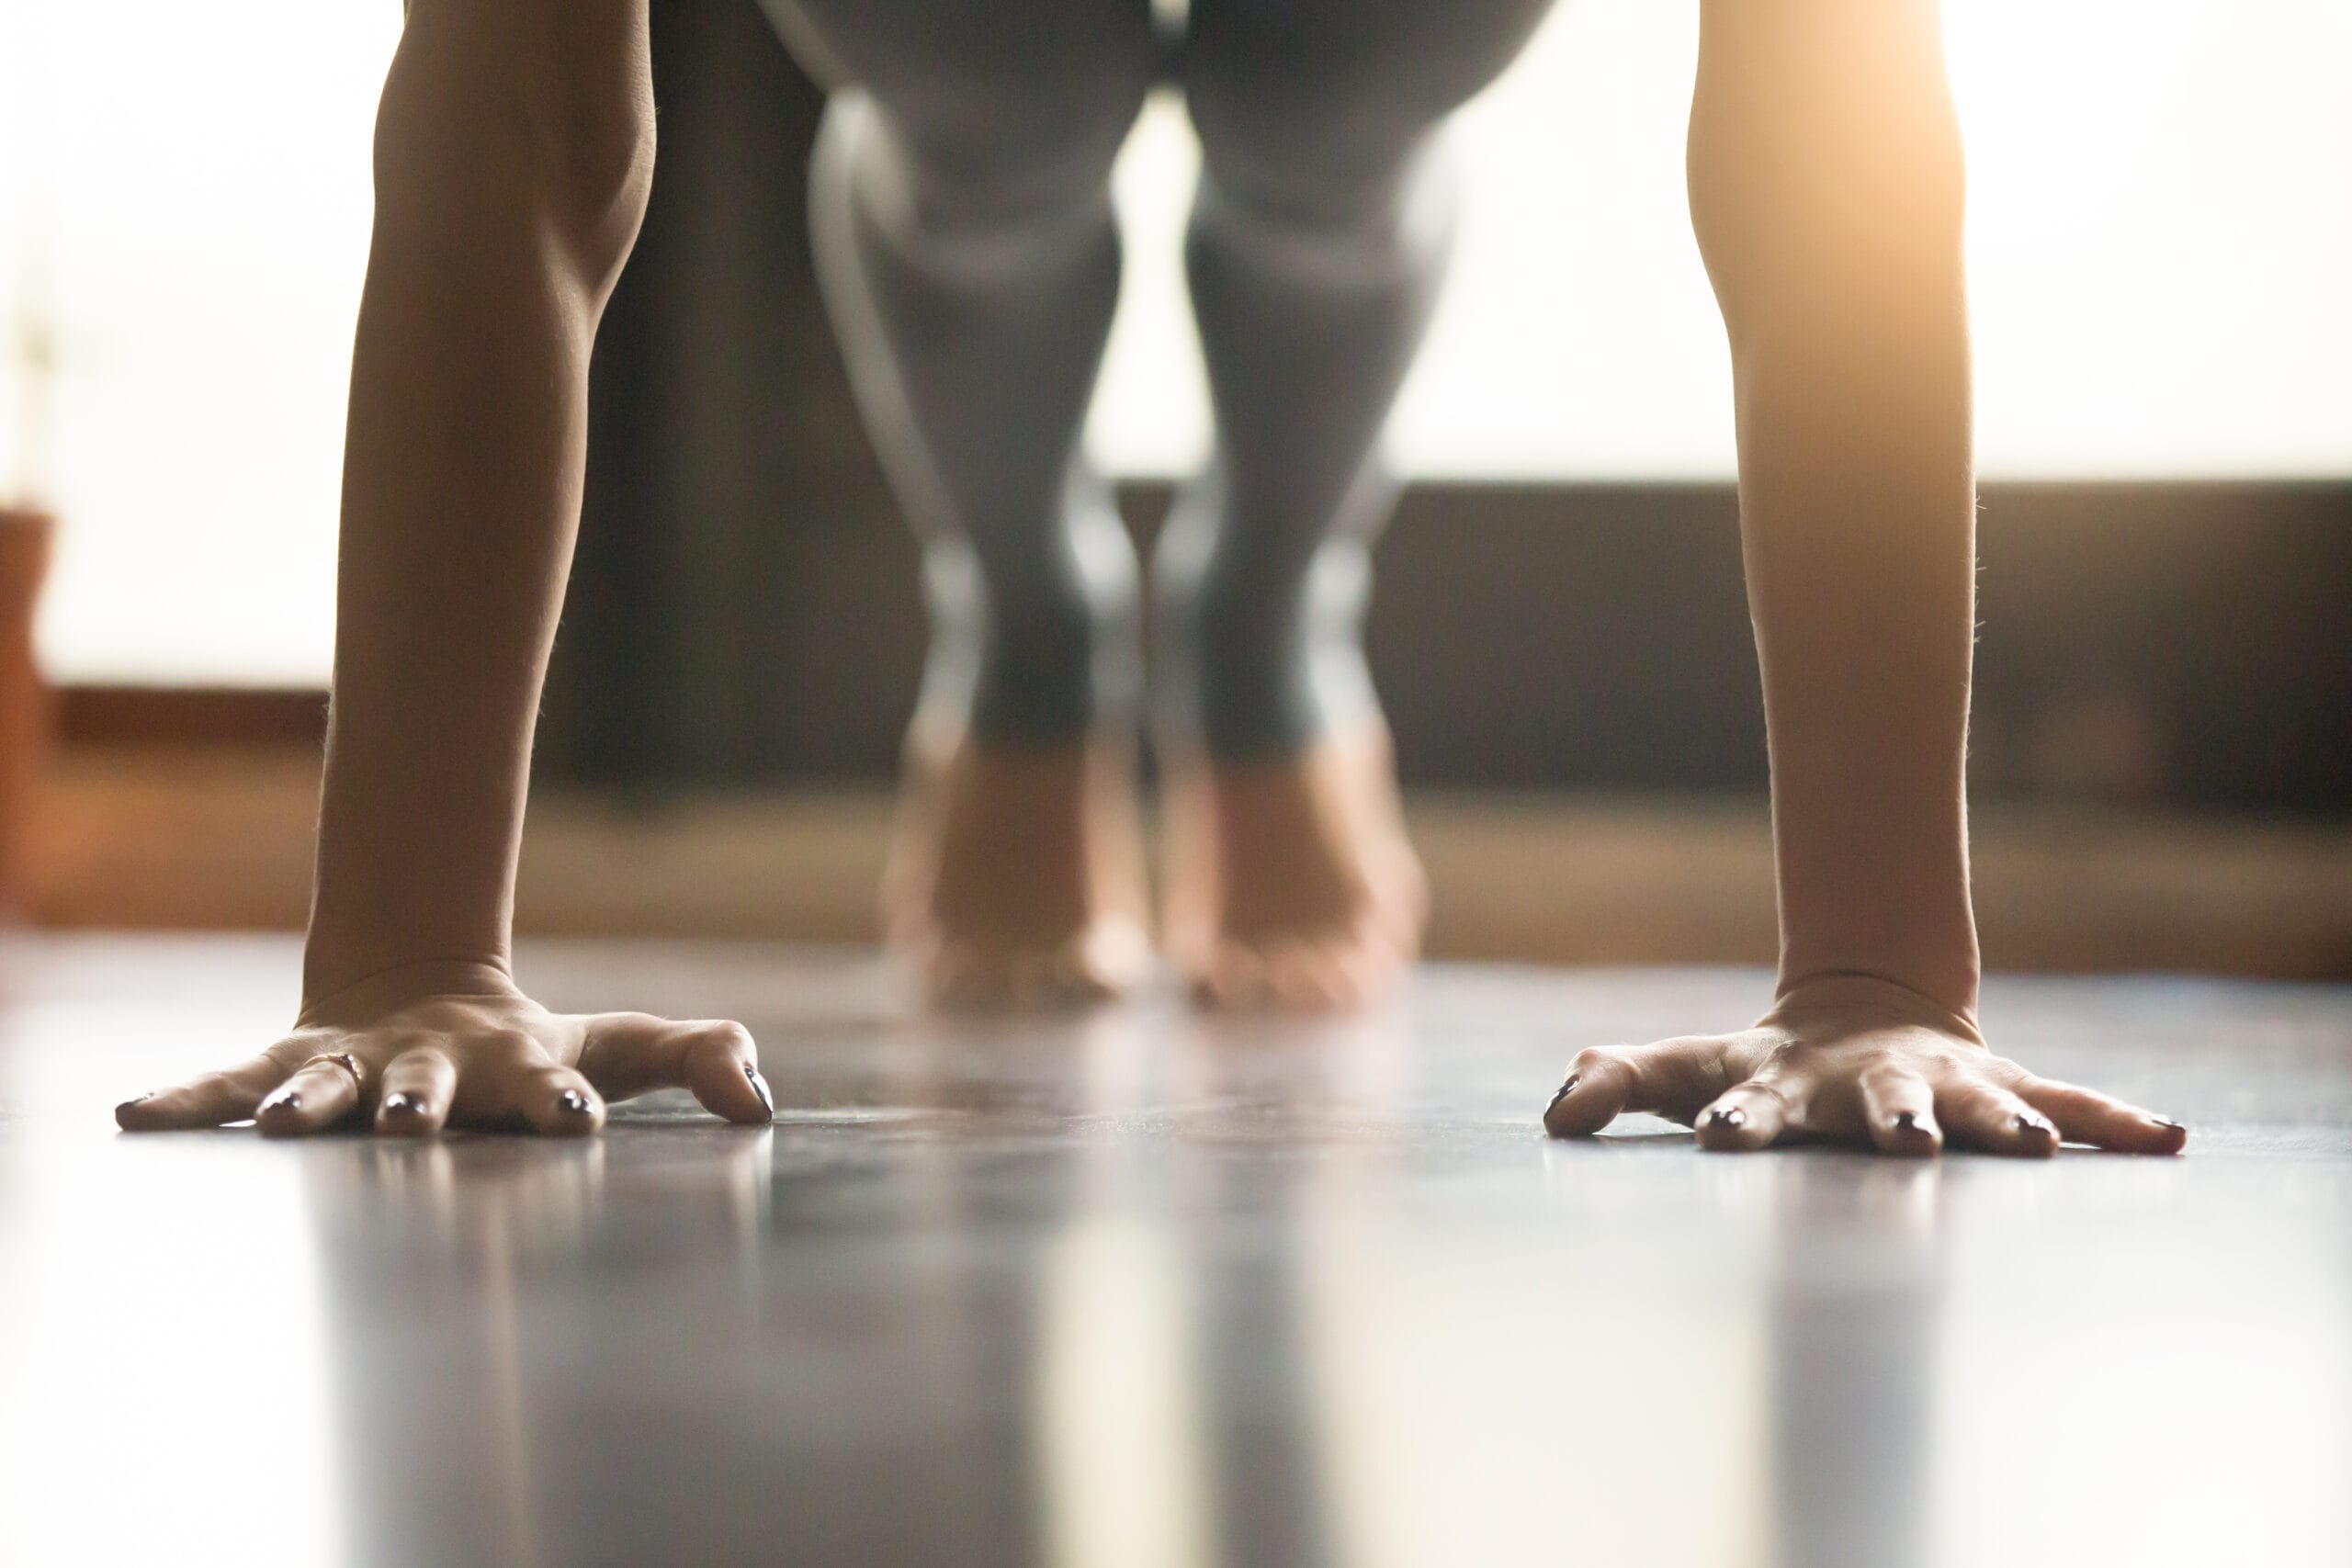
#1 Wall Plank
Planks come in a lot of varieties and they’re easily some of the best core exercises around.
Not only do they get pretty much every muscle in your core involved, but they’re isometric too (meaning there’s no movement), making them safe for most seniors to perform.
The wall plank is the standing variation and all you need to perform this core blasting exercise is a little bit of open wall and enough floor space to stand comfortably.
For this exercise, you’ll be placing your forearms against the wall, trying to keep your elbows in line with your shoulders (arms at shoulder-height).
Then you’re going to brace your core by pulling that belly button in hold the position.
You can make things easier or harder by adjusting your foot placement – backing your feet farther away from the wall makes this exercise more challenging, while bringing your feet closer to the wall makes it easier.
Start with a goal of holding for 30 seconds and try to work your way up to a minute.
When you can do 3 sets of 1 minute comfortably, it’s time to back those feet up.
If this position is uncomfortable on your elbows, you can also try it with keeping your elbows straight – in this situation, your hands will be against the wall, as if you were setting up for a wall push up.
#2 Standing Trunk Rotations
This is another great core exercise.
Not only does this get our obliques involved, but it also helps maintain the all so important rotation range of motion in our spine – a motion a lot of our seniors start to lose.
This movement also happens to be incredibly functional, so working on and strengthening this movement can help make you safer throughout the day.
For this exercise, start with your feet about shoulder-width apart and keep a slight bend in your knees.
Brace your core and extend both arms straight out, keeping elbows extended.
With control, slowly rotate as far as you can comfortably go to one side and then return to your starting position; repeat to the other side.
Try to stay within a pain free range – if it hurts to rotate all the way, stop the movement short of where the pain begins.
If you can do this exercise comfortably, try adding some resistance. Resistance bands work wonderfully, but you could also try holding a small dumbbell, a light medicine ball, or even a large can of soup. Keep in mind that since your arms are straight, you won’t need much weight to get the job done. When using a band, do your reps for one side and then turn around to work the other side.
#3 Wood Chops
This exercise takes the traditional trunk rotation mentioned above and adds an extra level of difficulty.
This move actually comes from a form of neuromuscular therapy often used with stroke patients known as PNF (proprioceptive neuromuscular facilitation).
The general idea is that these combinations of moves help stretch and activate muscle groups in functional ways, improving flexibility, range of motion, and strength.
Well, they may’ve started in the therapy world, but a lot of these movement patterns have been adopted into the strength training world because they get a lot of muscles working at the same time and they’re very functional in nature.
The wood chop is named so because it mimics the motion of chopping wood with an axe.
For this exercise, you’ll start with your trunk rotated and your hands together and raised over one shoulder.
As you rotate your core back to the middle, you’ll pull your hands down toward your opposite hip; hold for a second and then return to the starting position.
Try to keep your feet at shoulder-width apart with knees slightly bent and keep your core engaged throughout.
Also try to keep those elbows straight throughout and if you can turn your head to watch your hands throughout the movement, you’ll get more vestibular involvement as well (which is good for your balance).
This is a great exercise, but you need a fair amount of shoulder mobility to do it comfortably. If you’re able, try adding a resistance band for greater challenge (functional trainers also work great for this). When using a band, anchor it at the top of a door so you’re pulling the band as you rotate and pull your arms down.
If you’re tall or looking to start from a higher position, you can also try this exercise from a half-kneeling position, which adds another layer of difficulty.
#4 Reverse Wood Chops
This core strengthening exercise is very similar to the wood chop mentioned above, but the movement is simply reversed.
For this exercise, you’ll have the band anchored low, so you’ll be starting with your hands down by your hips and elevating your shoulders as you rotate away from the band.
The reverse wood chop forces your shoulders to work a little harder because you’ll be lifting against the resistance band as you rotate (you can do this exercise without resistance as well).
You could also use other forms of resistance with this one, like a small dumbbell, weight plate, or anything else that adds a little challenge.
But again, we’re working with straight arms and rotating our backs here, so keep the resistance light – it doesn’t take much to make this challenging.
And make sure to do the same amount of reps/sets for each side.
#5 Single Arm Farmer’s Carry (aka Suitcase Carry)
Alright, let’s take a break from the rotational stuff and take a look at a functional exercise that doesn’t require any actual movement from your trunk.
The lack of trunk movement makes this exercise more of an isometric core strengthening move, making it a great choice for seniors dealing with back pain.
Anyway, for this one, you’re basically just going to grab a dumbbell, kettlebell, jug of milk, or anything else with a little weight to it, hold in one arm, and walk.
Since you’ll be carrying it down by your side, it’s convenient to use something with a handle or that’s easy to grasp.
Once you’ve chosen your item, you’ll hold it on one side and walk at a normal pace, while making sure you keep your posture up nice and tall.
The magic to this exercise is the fact that you’re only carrying the weight on one side – this makes you unbalanced, forcing your core to kick in to stabilize your trunk.
It also works your grip and happens to be one of the most functional exercises you can do.
You can go a little heavier with the weight on this one, but try to walk a distance of 50 ft or so with each set.
FYI, you can do this one without walking too – simply standing in one spot while holding the weight will work your core as well.
#6 Pallof Press (Anti-Rotation)
I’m proud to say this exercise was named after a physical therapist, but I promise that’s not the only reason I included it in this list.
The real reason it landed a spot here is that it’s a great core strengthening exercise and it’s safe for most seniors to do.
This exercise works best with a resistance band or cable machine, so you’ll want to make sure you have one before trying to make this work.
For this move, your core will be working overtime to ensure the band doesn’t rotate your trunk – hence the ‘anti-rotation’ function.
After you’ve anchored your band at around shoulder-height, take a few steps out to get some tension on your band.
Keep your feet about shoulder-width apart and bend your knees slightly for optimal comfort.
While keeping your core engaged (bellow button pulled in), straighten your arms out in front of you, hold for a sec, and then pull ’em back in to your chest.
That’s 1 rep.
Do 10-15 reps and then switch sides.
The Pallof press also works your shoulders, so don’t be surprised if you start feeling the burn in your deltoids too.
#7 Opposite Arm/Leg Marching
This exercise is used often in rehab settings, especially for folks trying to rebuild core strength following a surgery or who may otherwise be dealing with back pain.
But it can work just as well for healthy seniors looking for a safe way to improve core strength.
This exercise can be performed standing, sitting, lying on your bed, or even sitting on a Swiss ball for added difficulty.
If you’re doing this sitting though, try to make sure your back isn’t touching the backrest – this’ll make your core work a little harder.
Regardless of your position, you’ll be marching on leg up while extending the opposite arm overhead.
This not only forces your core muscles to turn on to stabilize your trunk while these extremities are moving, but it may also challenge your coordination a little too.
Which is always a good thing.
Don’t worry though, with a little practice, you’ll be a pro in no time.
Just remember that you have to do each side to complete 1 rep.
And as the video shows, you can add ankle weights for added difficulty.
#8 Back Extension Into Wall
This exercise is great for working on improving a slouched posture.
It’s pretty specific to the thoracic extensors, but if you bend your knees a little and keep that belly button pulled in, you’ll get your other core stabilizers involved too.
For this exercise, you don’t need any equipment, just a little wall space.
With feet about shoulder-width apart and your back against the wall, gently squeeze your shoulder blades together as you push your shoulders back into the wall.
Hold for a few seconds and then relax.
This move should be pretty comfortable for most seniors because there’s very little movement involved and it’s isometric.
Reps, Sets, Frequency, and More
Ok, we’ve gone over the exercises, but I didn’t go into a lot of detail about how seniors should be implementing these exercises into a routine.
Ultimately, you can mix and match these exercises any way you like, but I’ll offer a few tips here:
Reps
‘Reps’ refers to how many times you do an exercise and for most of the exercises mentioned above, I’d recommend starting somewhere around 10 – 15 reps per set.
This rule isn’t written in stone anywhere, but when it comes to improving strength and endurance, this is a good rep count to be in.
If you don’t have any resistance bands or the bands you do have are too easy, you may have to do more reps to challenge yourself and that’s ok.
When it comes to planks, you aren’t really counting reps, so it’s more about the amount of time you’re holding the position.
As mentioned above, when it comes to planks, start with a goal of 30 sec and work your way up from there.
When counting reps, just make sure you include both sides in each rep.
Sets
Each set refers to the completion of your determined amount of reps.
For example, if you were using 10 reps for a given exercise, every time you completed 10 reps, that would be considered 1 set.
After you do a set, you’ll usually take a rest break for a minute or two and then complete another set, rest, and so forth until you reach your determined number of sets for the exercise.
Again, you can play with different numbers of sets, but I think 3 sets is a good place to start for any of these exercises.
When combining sets and reps, I like to shoot for a total number of 30 reps per exercise, which usually looks like:
- 3 sets of 10 reps, or
- 2 sets of 15 reps
But if you’re just starting off, you might want to start with 1 set of each to see how it feels the next day.
Choosing Exercises
We went over 8 different core strengthening exercises above, but that doesn’t mean you need to incorporate all of these exercises into your regular routine.
Far from it.
Depending on what your regular routine entails, I’d try adding 2-3 of the above core moves to what you’re already doing.
(And if you aren’t currently exercising on a regular basis, it’s time to remedy this – check out this guide on resistance band exercises for a good place to start).
When choosing core exercises, you could try including:
- 1 plank variation,
- 1 rotational move, and
- 1 extension or carrying move
Including different types of core exercises in your routine trains your core in different ways, but it also helps prevent your routines from getting too boring.
Speaking of which, I get bored easily with my workouts so I’m always switching up exercises – I encourage you to do the same thing.
Feel free to do different exercises from week to week or even day to day, depending on your mood.
Frequency
Exercise frequency refers to how often you’re doing your exercises, as in 1x/week, 2x/week, etc.
The exercises above are all pretty low impact, so you probably could do them everyday if you wanted to, but that’s not necessary.
I think working your core 2-3x/week is plenty, especially if you’re challenging yourself adequately.
And again, if you’re just starting out with exercise, start slow and gradually build up as you get stronger.
Intensity
When I refer to ‘intensity’, I’m talking about how hard you’re challenging yourself with each exercise.
If we’re really trying to improve core strength here (and not just go through the motions), then your muscles should feel tired by the time you get to your last rep for each set.
So, if you’re doing 10 reps per set, reps 9 and 10 should feel challenging.
If you’re using resistance bands or some other form of external resistance, this means choosing a resistance that’s tough enough to challenge you sufficiently.
If you aren’t using external resistance, it might mean altering your rep counts (or holding time) to make sure you’re working hard enough to make gains.
You can also gauge your intensity using a 0-10 scale (I do this often with my patients):
If ‘0’ is sitting on the couch watching tv and ’10’ is the most intense exertion you can imagine, I’d suggest aiming for an exertion level of around ‘7’ during your workouts.
This is where you know you’ve exercised, but you aren’t too wiped out to function the rest of the day.
Core Muscles 101
When we talk about strengthening our “core”, we’re really talking about a lot of different muscles.
The exact number of muscle groups will vary depending on who you ask, but generally speaking, when we talk about core muscles, we’re basically talking about all the muscles between our shoulders and our hips.
This means the core includes our:
- Abdominals (superficial and deep)
- Back extensors (thoracic and lumbar)
- Hip flexors (as well as all the other hip muscles depending on who you ask)
- Pelvic floor
So, in other words, working your core is a whole more involved than simply “working on your six-pack”.
Some of our core muscles are more involved with movement, while others are utilized more so for the sake of stabilization.
It isn’t necessary to know all the names of all the muscles included in these groups, but I wanted to briefly point these out to show that our cores include a lot of muscle groups.
And given all the muscles involved and the varying functions of these muscles, training your cores in different ways with different exercises is important.
Why Is Core Strengthening Important?
But why is it so important?
That’s a fair question.
We’re told throughout out lives that exercise is important for general health and well-being, but why should we take the time to focus specifically on core strength?
Well, the most important reason is that having a strong core can help prevent us from injuring ourselves – especially as we get older.
This is especially true when it comes to lifting or carrying heavier objects.
I mentioned earlier that our core muscles are responsible for stabilizing the spine and having stronger muscles means better stabilization.
And having a more stable spine puts you at lower risk for injury when lifting, carrying, bending, twisting, or doing any other activity that occurs throughout the day.
Having a stronger core also makes it easier to some of the things a lot of us take for granted, like getting up from a chair or getting out of bed in the morning (aka things that tend to become more challenging as we age).
From reaching to grab a mug out of the cupboard to bending down to tie your shoes, having a stronger core makes doing everything throughout the day easier.
So keeping a strong core is paramount to avoiding injury and maintaining function as we age.
Final Thoughts
Ok, I think that’ll about do it.
There are a ton of different ways to strengthen our cores, so it’s really just a matter of finding exercises that are safe to do and that are of the appropriate skill level.
Seniors may be dealing with mobility issues or achy joints, but as I hope the above list illustrates, there are still plenty of exercises they can do to improve core strength.
Start slow and gradually build up and if anything hurts, try to adapt the exercise or try something else – never force your way through pain.
And again, if you’re unsure about any exercise, please check with your physician to make sure it’s safe before trying.
Otherwise, I hope you found this guide helpful.
If you have any questions or comments, please leave them below and I’ll get back to you shortly.